How to apply a tattoo stencil that lasts the whole session
A stencil that smears halfway through the session costs you accuracy exactly when you need it most. The fix is rarely a different product — it is almost always preparation and patience. Here is the routine that works.
Clean skin prep, the right amount of stencil solution, placement without sliding and proper drying time — a step-by-step method for transfers that survive wiping.
What you need
- Thermal transfer paper (printed via a thermal copier or hand-traced with a hectograph pencil)
- Stencil application solution
- Single-use razor, skin-safe soap or cleansing wipe
- Nitrile gloves, paper towels
- A skin-safe marker for adjustments
The method, step by step
- Prepare the design at actual size and print or trace it onto thermal paper. Check orientation — script and asymmetric designs are easy to mirror by mistake.
- Shave the area with a fresh single-use razor, even if hair looks minimal — stubble lifts the stencil and blurs edges.
- Clean the skin with a suitable cleanser and dry it fully. Any residue of oil, lotion or soap will fight the transfer.
- Apply a thin, even layer of stencil solution with a gloved hand — enough to make the skin tacky, not wet. Pooled solution dissolves the transfer on contact.
- Position the stencil carefully and press it on in one motion, smoothing from the centre outwards. Do not let it slide — one clean contact, firm even pressure for several seconds.
- Peel back slowly from one corner. If a section did not take, clean the area completely and start again rather than patching a ghost.
- Let it dry for at least 5–10 minutes before any wiping — longer is better. Many artists apply the stencil first, then set up their station while it cures.
- Check placement with the client standing in a mirror — muscles and posture change how a design sits. Adjust with a skin marker if needed.
Dry time is transfer strength. A stencil that has cured for 10+ minutes bonds with the solution layer and survives repeated wiping; a stencil worked on after two minutes wipes away with the first excess ink. Set up your machine, inks and station after applying the stencil — the timing works out perfectly.
Troubleshooting: why stencils fail
| Symptom | Likely cause | Fix |
|---|---|---|
| Blurry edges on application | Too much solution, or stencil slid on contact | Thinner layer; commit to one placement motion |
| Transfer patchy or faint | Skin not clean/dry, or worn thermal paper | Re-prep skin fully; use fresh paper |
| Wipes off during tattooing | Not enough dry time | Cure 10+ minutes; blot rather than scrub |
| Design distorts on the body | Applied on stretched or compressed skin | Position with the client in a neutral stance |
Stencil products in the catalogue
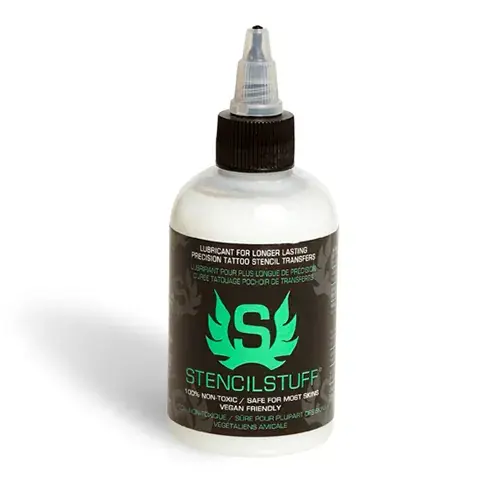
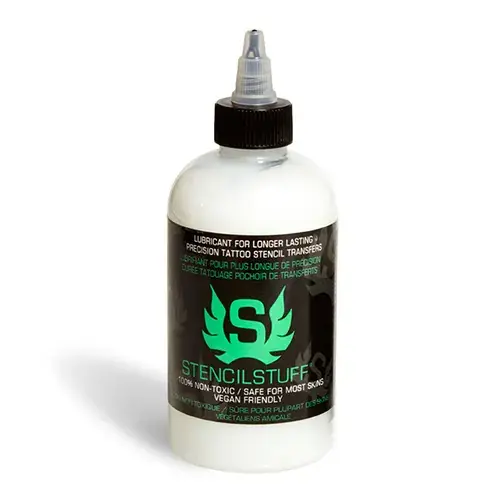
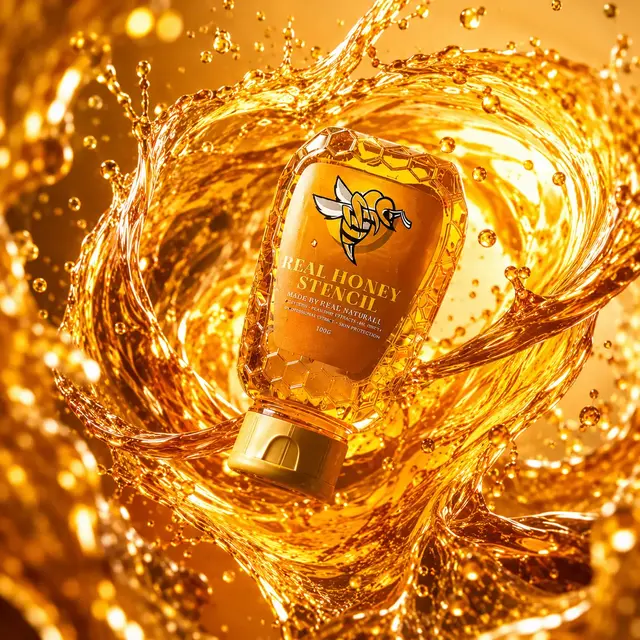
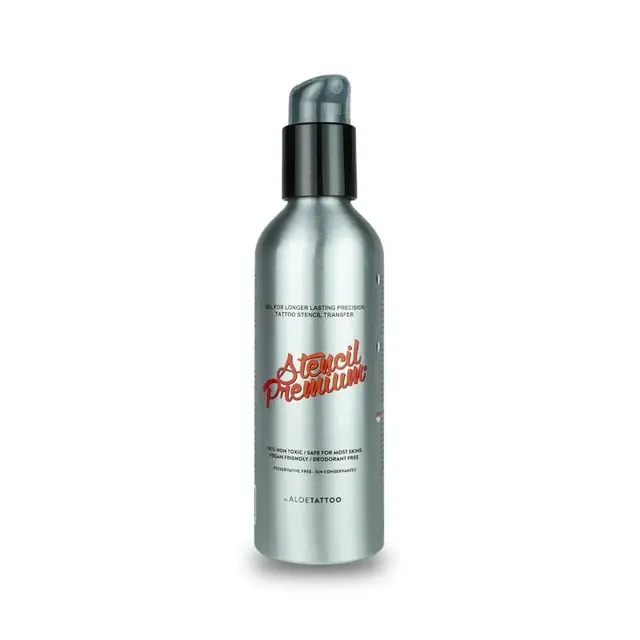
Working around the stencil
- Blot excess ink straight down with a paper towel instead of wiping sideways across stencil lines.
- Work the design in a sensible order — many artists start at the point furthest from their wiping hand so healed lines, not stencil, guide the later stages.
- Keep a skin marker at the station to refresh any line before it disappears, not after.
Frequently asked questions
How long should a stencil dry before tattooing?+
At least 5–10 minutes, and longer helps. A well-cured stencil bonds with the solution layer and survives repeated wiping through the session. Applying the stencil first and then setting up your station is a practical way to build in the wait.
Why does my stencil wipe off while I work?+
Usually insufficient dry time, sometimes combined with sideways scrubbing. Cure the stencil for 10+ minutes, blot excess ink downwards rather than wiping across lines, and work in an order that keeps your wiping hand off the freshest stencil areas.
How much stencil solution should I use?+
A thin, even layer that leaves the skin tacky rather than wet. Pooled solution dissolves the printed lines the moment the paper touches the skin — it is the most common cause of blurry transfers.